
Introduction
A cooker hood is an important appliance in every modern kitchen. It helps remove smoke, steam, grease, and unpleasant cooking smells from the air. A good cooker hood keeps your kitchen fresh, clean, and comfortable while you prepare meals. However, proper installation is necessary to get the best performance from your appliance.
If you are planning to install a new cooker hood, this guide will help you understand the basic steps, different installation options, and important safety tips. Brands such as Ciarra One offer kitchen appliances designed to support a modern and practical cooking experience.
What Is a Cooker Hood?
A cooker hood is a kitchen appliance installed above a hob or cooking area. It uses a fan to collect smoke, steam, grease, and cooking odors. Depending on the model, it either sends the air outside through a duct or filters the air before returning it to the kitchen.
There are different types of cooker hoods, including wall-mounted, island, integrated, and under-cabinet models. Each type has its own installation requirements. Before purchasing a cooker hood, consider your kitchen layout, available space, and ventilation needs.
Tools and Materials Required
Before starting the installation process, make sure you have the necessary tools and materials. These may include a measuring tape, pencil, spirit level, drill, screwdriver, suitable wall fixings, and a step ladder.
If your cooker hood requires external ventilation, you may also need compatible ducting, connectors, and an external vent. The exact materials depend on the appliance model and your kitchen design.
Always read the manufacturer’s installation instructions before beginning. If electrical work or new ventilation openings are required, consider hiring a qualified professional.
Step 1: Choose the Right Location
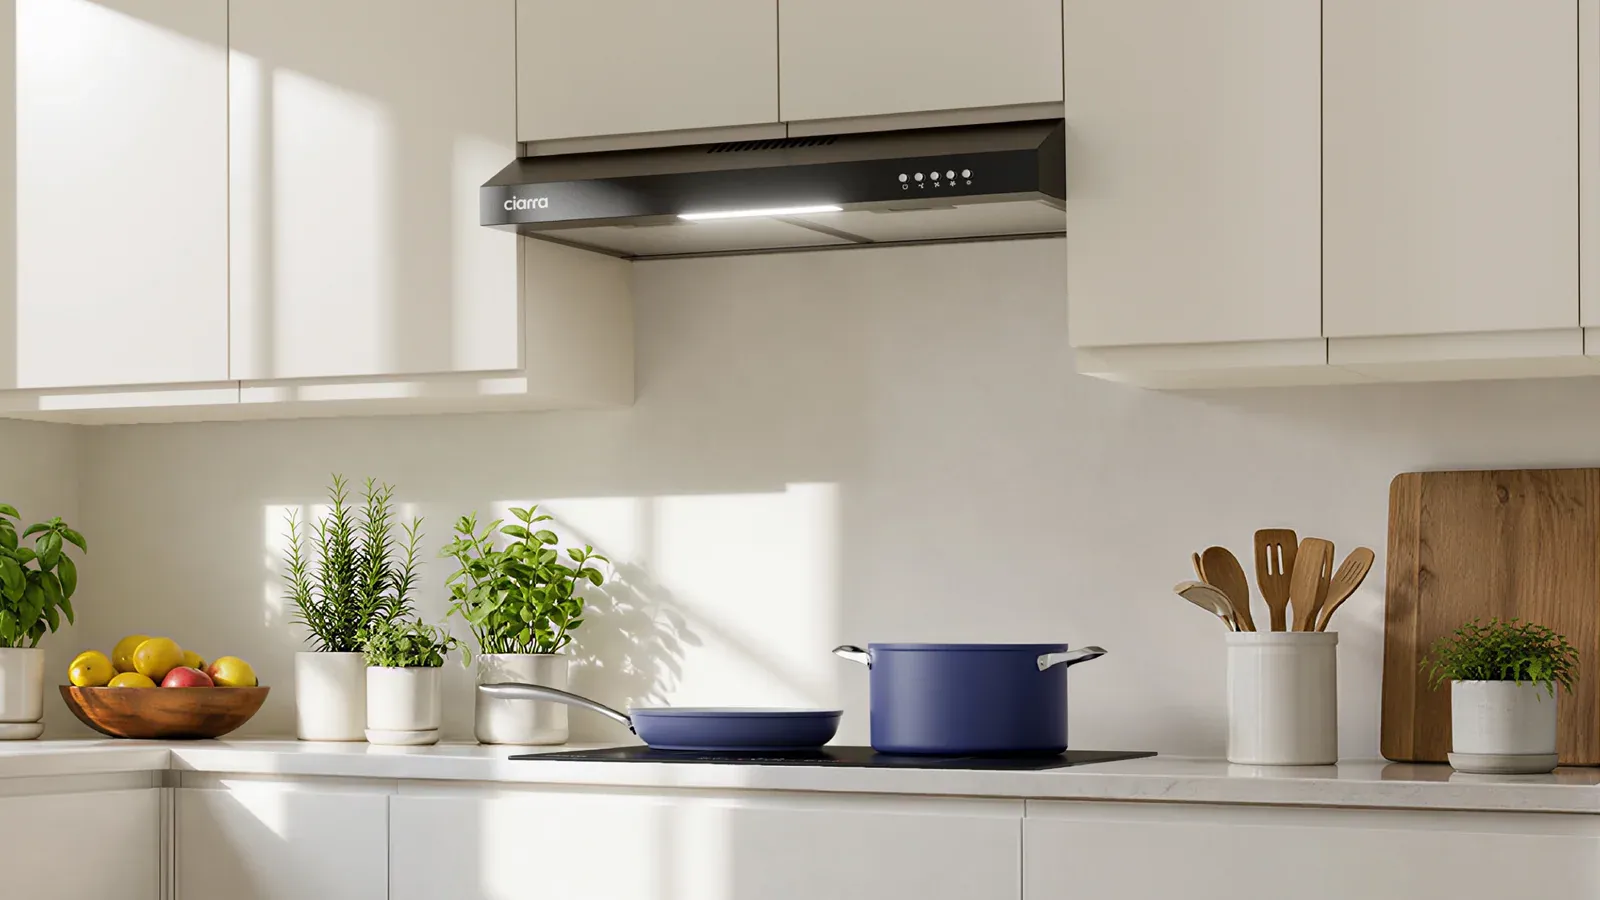
The first step is to choose the correct location for your cooker hood. Most cooker hoods are installed directly above the hob to collect smoke and steam effectively.
Measure the width of your cooking area and select a hood that fits it properly. Many models are available in different sizes to suit small and large kitchens.
You should also check the recommended installation height. The correct distance between the hob and the cooker hood depends on the appliance and whether you have a gas or electric hob. Follow the manufacturer’s instructions and local safety requirements.
Step 2: Measure and Mark the Wall
Once you have selected the location, measure the installation area carefully. Use a pencil to mark the position of the mounting brackets and screw holes.
A spirit level can help you ensure that the cooker hood will be straight. Accurate measurements are important because an uneven installation can affect the appearance and stability of the appliance.
Before drilling, check for hidden electrical wires, water pipes, and other services inside the wall. If you are unsure, ask a professional to inspect the area.
Step 3: Install the Cooker Hood
After marking the required positions, install the mounting brackets according to the manufacturer’s instructions. Use suitable fixings for your wall type and ensure that the brackets can support the appliance’s weight.
Carefully lift the cooker hood into position and secure it firmly. Some models may require two people for safe installation.
If you are installing a Ciarra One kitchen appliance, check the specific product instructions to confirm its mounting requirements and compatibility with your kitchen.
Do not switch on the appliance until the installation is complete and all necessary connections have been checked.
Step 4: Connect the Ventilation System
Cooker hoods generally use one of two ventilation methods: ducted extraction or recirculation.
A ducted cooker hood removes cooking air through a duct that leads outside. The duct should be compatible with the appliance and installed according to the manufacturer’s recommendations. Avoid unnecessary bends because they can reduce airflow.
A recirculating cooker hood uses filters to remove grease and, where fitted, reduce cooking odors before returning the air to the room. This option can be useful when external ventilation is not available.
Some models support both methods, while others support only one. Check your product specifications before choosing an installation method.
Step 5: Check the Electrical Connection
Electrical safety is an essential part of cooker hood installation. Follow the manufacturer’s electrical requirements and local regulations.
Before connecting the appliance, make sure the power supply is switched off. If the installation requires new wiring, changes to a socket, or other electrical work, use a qualified electrician.
Keep electrical connections away from water and excessive heat. Never operate a cooker hood if its cable, plug, or electrical components appear damaged.
Step 6: Test the Cooker Hood
After completing the installation, check that the cooker hood is securely mounted and that the filters are correctly fitted.
Switch on the appliance and test each available fan speed and light setting. Listen for unusual noises and check that the airflow is working as expected.
For ducted models, check that air can pass through the ventilation system. For recirculating models, make sure the correct filters are installed.
If you notice excessive vibration, weak airflow, or unusual sounds, switch off the appliance and investigate the problem safely. Contact a qualified technician if necessary.
Common Cooker Hood Installation Mistakes
Several common mistakes can affect cooker hood performance. Installing the appliance at the wrong height may reduce its effectiveness or create a safety risk.
Using unsuitable ducting, forgetting to install filters, or failing to secure mounting brackets can also cause problems. Another mistake is choosing a model that does not suit the kitchen’s ventilation requirements.
Careful planning and following the manufacturer’s instructions can help prevent these issues.
How to Maintain Your Cooker Hood
Regular maintenance helps keep your cooker hood working efficiently. Clean the grease filters according to the manufacturer’s instructions and replace disposable filters when required.
Wipe the exterior with a suitable cleaning product to remove grease and dust. Avoid harsh chemicals that may damage the appliance’s surface.
If you use a Ciarra One kitchen appliance, consult the relevant product manual for cleaning recommendations, filter replacement guidance, and maintenance requirements.
Conclusion
Installing a cooker hood is an important step toward creating a cleaner, fresher, and more comfortable kitchen. By choosing the right model, measuring carefully, installing the appliance securely, and checking the ventilation system, you can improve your kitchen’s air quality and cooking experience.